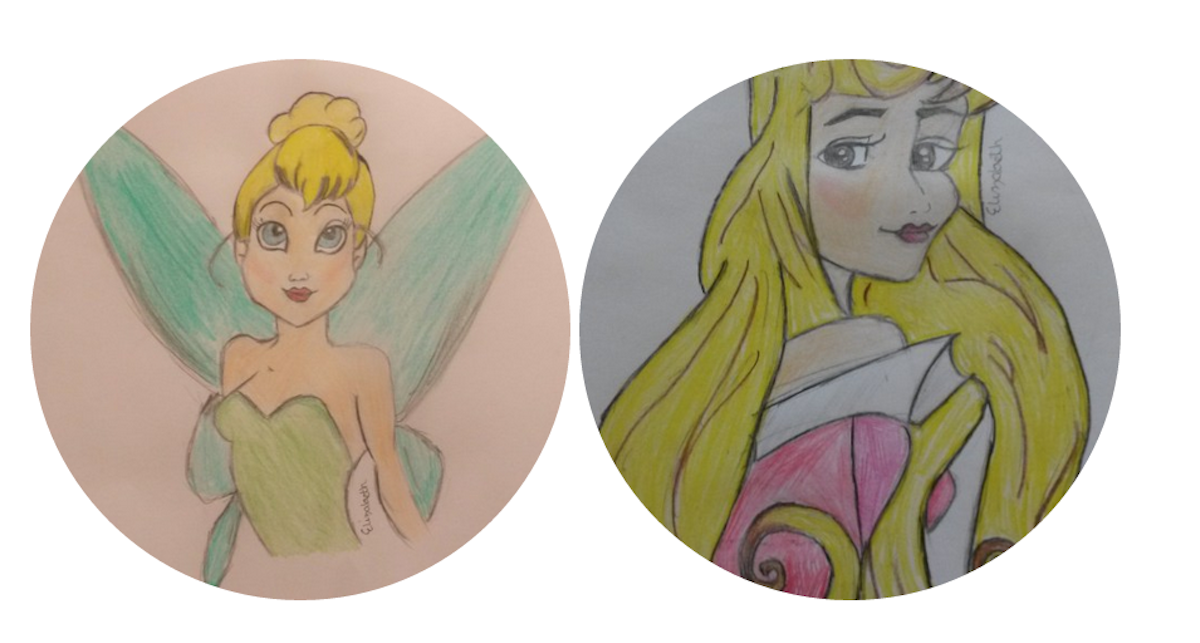
Elizabeth is part of the Ballymena Today youth team and is a talented artist. She writes;
I like drawing. Today I drew Princess Aurora from Sleeping Beauty and here are my 15 easy steps on how to draw her.
Aurora’s face
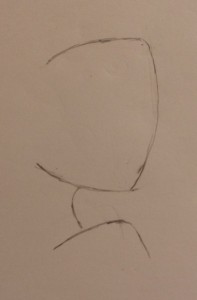
Step 1.
Draw the outline of her head, neck and shoulders.
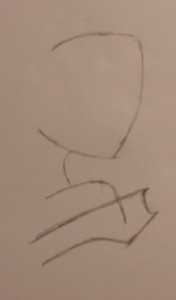
Step 2.
Draw the collar of her dress.
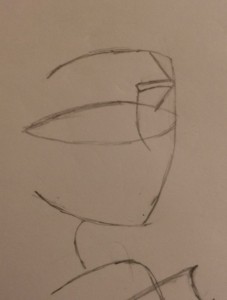
Step 3.
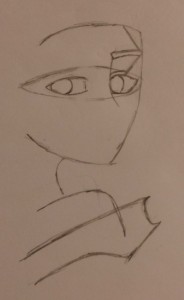
Sketch on the eye guidelines. Remember to draw these lightly so they can be rubbed out easily. Also draw the right eyebrow.
Step 4.
Draw the eyes and right eyelid.
Step 5.
Draw the left eyebrow and shade in both eyebrows.
Step 6.
Draw her nose and top lip.
Step 7.
Continue working on Aurora’s lips until finished – remember that the top lip is quite thin.
Step 8.
Finish eyes by adding eyelashes and by adding a sparkle/shine to her pupil. Also add left eyelid and rubout guidelines.
Aurora’s Hair
Step 9.
Start drawing Aurora’s fringe at the top of her head.
Step 10.
Continue shaping her fringe.
Step 11.
Draw the tiara on top of her fringe, use a curve to add a 3D effect.
Step 12.
Continue drawing Aurora’s hair.
Step 13.
Draw arm and round off her hair.
Step 14.
Add spirals to bottom of hair.
Step 15.
Rub out guidelines.
If you want to, you can colour in, shade or paint your drawing.
I hope this tutorial on how to draw Princess Aurora from Sleeping Beauty helped and turned out successfully☺!
If you liked this stay tuned to Ballymena Today to find out how I drew Tinkerbelle from Peter Pan.
